How to Make a Balloon Dog – Step by step tutorial (without it going BANG)
If you’ve landed here, there’s a good chance you’ve promised a child you’d make them a balloon dog. So how do you make a balloon dog?
First of all, good luck.
Second, don’t worry, I’ve got you!
The balloon dog is where almost every balloon twister starts. It’s simple enough for beginners, but once you master it, you’ll understand the basic twists used in hundreds of balloon designs.
I’m a professional balloon twister & have made up to 60 of these bad boys/hour.
The good news is you don’t need years of experience to make your first one. You just need the right balloon, a pump and a little patience.
What You’ll Need
1) One 260 modelling balloon (260 refers to the size of the balloon, 2 inches in diameter and 60 inches long when fully inflated)
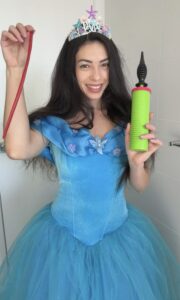
2) A hand pump
3) About 5 minutes
4) A sense of humour in case the first balloon pops
If your first attempt looks more like a balloon sausage than a dog, you’re doing just fine.
Watch the Balloon Dog Tutorial
If you’re more of a visual learner, watch the tutorial below and follow along.
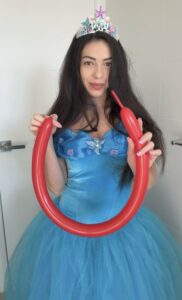
Step 1: Inflate the Balloon
First of all, inflate the balloon, but leave about 10 to 15 centimetres uninflated at the end. If you over inflate, let some out before you tie the knot.
That empty bit isn’t a mistake. It’s where the air moves as you twist the balloon. If you inflate it all the way it will have no where to go and become very fill and if you keep on creating more pressure it may not survive it…
Step 2: Make the Head
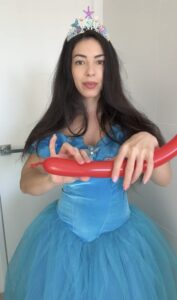
So you’ve inflated it, now let’s make the balloon dog’s head. Pinch the balloon together with your left hand at the 10cm mark & twisting away from you with your right.
Congratulations. Your balloon dog has a head. Hold onto that twisted section with your left hand.
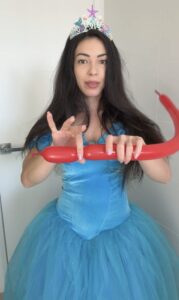
Step 3: Create the Ears
Now move your twisting hand 15cm further & pinch it, then twist. Bring that twisted section to meet the head.
Hold that with your left hand & turn the section you just made with your right hand.
Twist them together, this will lock them into place.
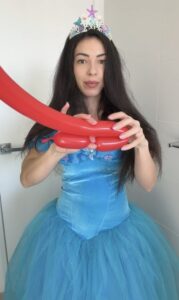
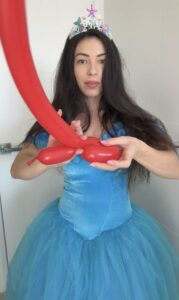
Step 4: Twist the Neck
Once you’ve made the balloon dog ears, create a 8cm twist underneath them.
With that done, your balloon should finally start to resemble something your child might recognise.
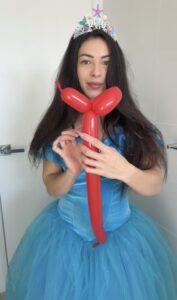
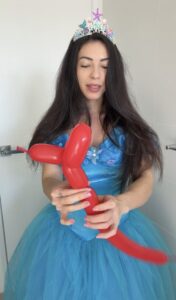
Step 5: Make the Front Legs
Like with the ears- pinch a 15cm bubble and twist it with the end of the kneck to lock them together. Almost there!

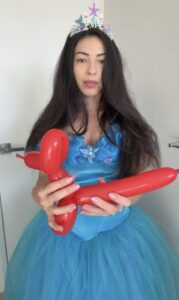
Step 6: Create the Body + Back Legs
Leave a 10cm gap for the body and twist, before making another matching 15cm back leg.
Making them the same length is important because if you get it right you will realise it actually looks like a dog now.
It’s a surprisingly satisfying moment.

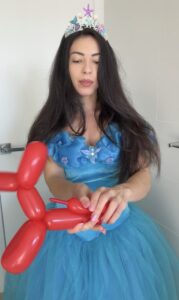
Step 7: Finish the Tail
Last but not least, whatever balloon you have left becomes the tail.
That’s it.
Congratulations, you’ve officially made a balloon dog.

Frequently Asked Questions
Why Does My Balloon Keep Popping?
You’re not alone.
Here are the four most common reasons.
You inflated it too much
Leave some balloon uninflated so the air has somewhere to move.
You’re twisting too tightly
The balloon should feel firm, not like it’s about to explode. I like to twist 4 times.
The balloon is old
Modelling balloons don’t last forever. Older balloons become brittle and pop more easily. My personal favourite brand is Sempertex.
You’re learning
This is probably the biggest reason.
Professional balloon twisters popped hundreds of balloons while learning so go easy on yourself.
Is balloon twisting harder than it looks?
At first, yes. As with most things, practice makes all the difference.
How long does it take to learn balloon twisting?
Most people can make a balloon dog after 30 minutes.
Once you’ve mastered this design, you’ll be surprised how many other balloon animals use exactly the same twisting techniques.
More complex designs may take hours or weeks to master, let alone a variety of them.
Can children learn to balloon twist?
Absolutely. Older children often love learning simple designs with adult supervision. Younger children usually have more fun watching someone else do it while they decide what animal they want next.
What balloons do professional balloon twisters use?
Most professionals use a variety of modelling balloons, 260s, 160s, 360s -all designed specifically for twisting. There are lots of brands out there from Sempertex to Kalisan or the wonderful Qualatex which is now closed down (there is still stock out there but look out because a lot of it is very old).
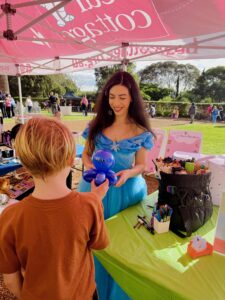
Looking for a Balloon Twister Instead?
Learning balloon twisting is a lot of fun, but if you’re organising a birthday party, school fete, family day or community event, you might prefer to spend your time enjoying the celebration instead of wrestling with balloons.
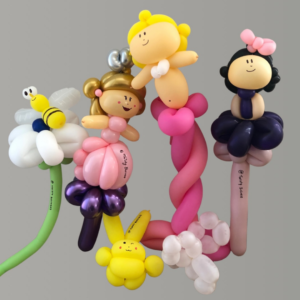
Twisty Business provides professional balloon twisting throughout Sydney’s Eastern Suburbs and Newcastle, creating everything from classic balloon dogs to detailed character designs that children absolutely love.
Whether your party is at home, in one of Sydney’s beautiful parks or at a local community hall, balloon twisting is always a crowd favourite.
Would you like some more free balloon twisting tutorials?
If so, comment below & follow us on @twisty.business for some more inspiration.